Wet Paint Border
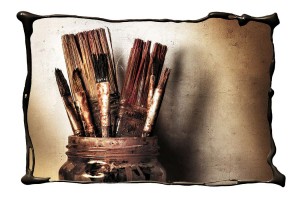
 The Friday Freebies have had a bit of a break but by popular request, they’re back! So to kick things off here’s a free border that I made by pouring paint to form a photo frame.
Full download instructions are below but you can also
Click Here To Wet Paint Border
I do like getting in a mess with my creations but this one was particularly bad. I created it by dribbling paint from a pot onto white paper in a rough rectangular shape.
To make life for you a little easier I’ve already made the cut out hole, so all you need to do is drop your photo on a layer below the border and resize it to fit.

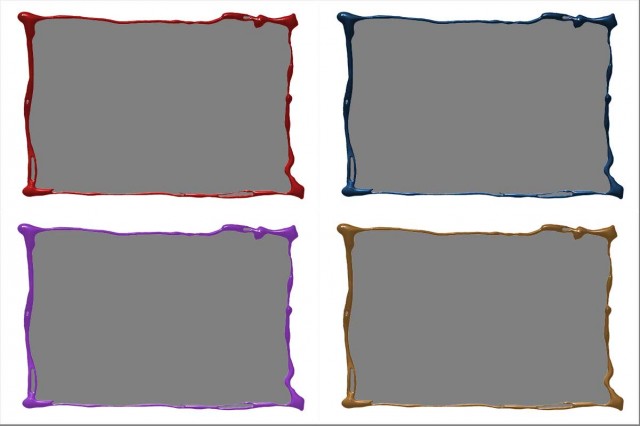
Don’t like the colour of the border? No problem. I’ve added a Hue/Saturation adjustment layer that only effects the border. Double click it and alter the Hue and Saturation values to create all these and lots more too. You can also adjust the Lightness value but it will have to be in the plus range only.
As always, if you create a photo using the Friday Freebie then let me (and everyone else) know by leaving the link in the comments below.
Usage rules
The image is copyright Gavin Hoey 2014. Use is limited to any personal but non-commercial purposes. Please share the Friday Freebie by linking back to this page. Do not redistribute the original image without my permission.
Download instructions
Click the link https://drive.google.com/file/d/0B_Mmmm3K1utNdjB1YjRidjZocE0/view?usp=sharing
1. Click the Download button ![]()
2. The download should start automatically


Am I missing something? The download I get is a single layer. I’ve tried adding my own HSL layer but the paint is so dark the colours barely show, certainly not like the examples above. Still, I love the idea & will try playing around with it to work on getting the best from it.
Make sure you choose the PSD option when downloading.
Oops, I was sure I’d clicked on the PSD & never thought to check the extension on the download. Works fine now. I’m off to sit in the dunces corner for a while
yep that was the mistake I made. I downloaded a jpeg version. my mistake
oh btw i had to read the instruction to change the color. reading instruction is a new concept for me.
yay friday freebies back. Could not resist a play. Cheers Gavin
http://www.flickr.com/photos/chris-rice/
Hi Gavin,
Here is my version of the Wet Paint Border.
https://www.dropbox.com/sh/0p6yosp37u4pmqx/nFsPDy9u0D
It was fun!
Eric
I’m can’t figure out how to: “Paste your photo above the “Your Photo Here” layer”
I’ve tried to copy, but the copy command is greyed out when i go to the edit box.
i need to know how to copy and paste in ps
Please reply!
Thanks,
Evan
You can’t copy until you have an active selection. Select – Select All is the way to go.
How do you change the white part of the background?
There are many ways you could do that but selecting it with the magic wand tool would be a good start.
It works perfectly for me Gavin! Always great!
Thanks for coming back!
Thank you for this and for all your wonderful tutorials. You are the undisputed king of explaining photoshop elements, and so very generous.