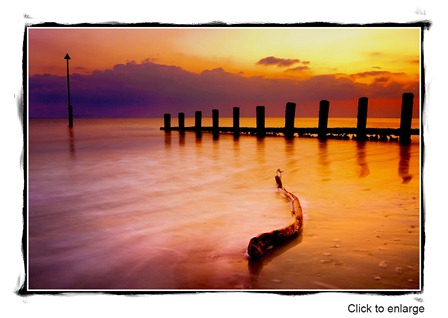
Free brushed border
Last week I made a tutorial for my friends over at Tip Squirrel on how to use the mixer brush to create three borders with a painterly feel. You can read the article and watch the video by clicking here to visit tipsquirrel.com
 Great as the effect is, there is a problem. You’ll need access to the Mixer Brush to make the borders but the Mixer Brush is only available in Photoshop CS5 and CS6. So what happens if you have an older version of Photoshop or for that matter, any version of Photoshop Elements?
The short answer is you’re out of luck but that doesn’t sound 100% fair to me, so I thought I’d share one of my ready made brushed borders in a way that anyone can use.
You can download the border from here:
https://www.gavtrain.com/free/FF-Mixer-Border.zip
It’s a zipped file of around 300kb in size so shouldn’t take too long to download. You can then unzip it and open the jpg border image in either Photoshop or Elements.
Please read the terms of use at the bottom of this post.
How to use the border
To add your own photo, first open the photo you want to add. Then select all (CTRL+A) and copy (CTRL+C) . Now jump over to the border image, select a grey rectangle with the Magic Wand tool and choose Edit – Paste Into (Edit – Paste Special – Paste Into in Photoshop CS5 & CS6)
You can then resize the photo before pressing Enter to committing to the changes.
The space for each photo is just under 4000 pixels on the longest edge, so if you’re using smaller images you might want to resize the border or photo before starting.
Usual rules apply.
The action is copyright Gavin Hoey 2012. You may use it for personal, non-commercial purposes only and please do not redistribute without permission.
Thank you and enjoy.


sir i have downloaded this brush but when i load this in my ps7 it show ‘could not load the brushes because the file is not comptible with this version of ps